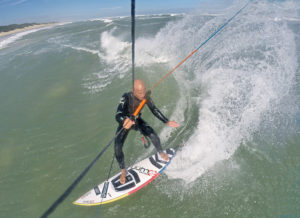
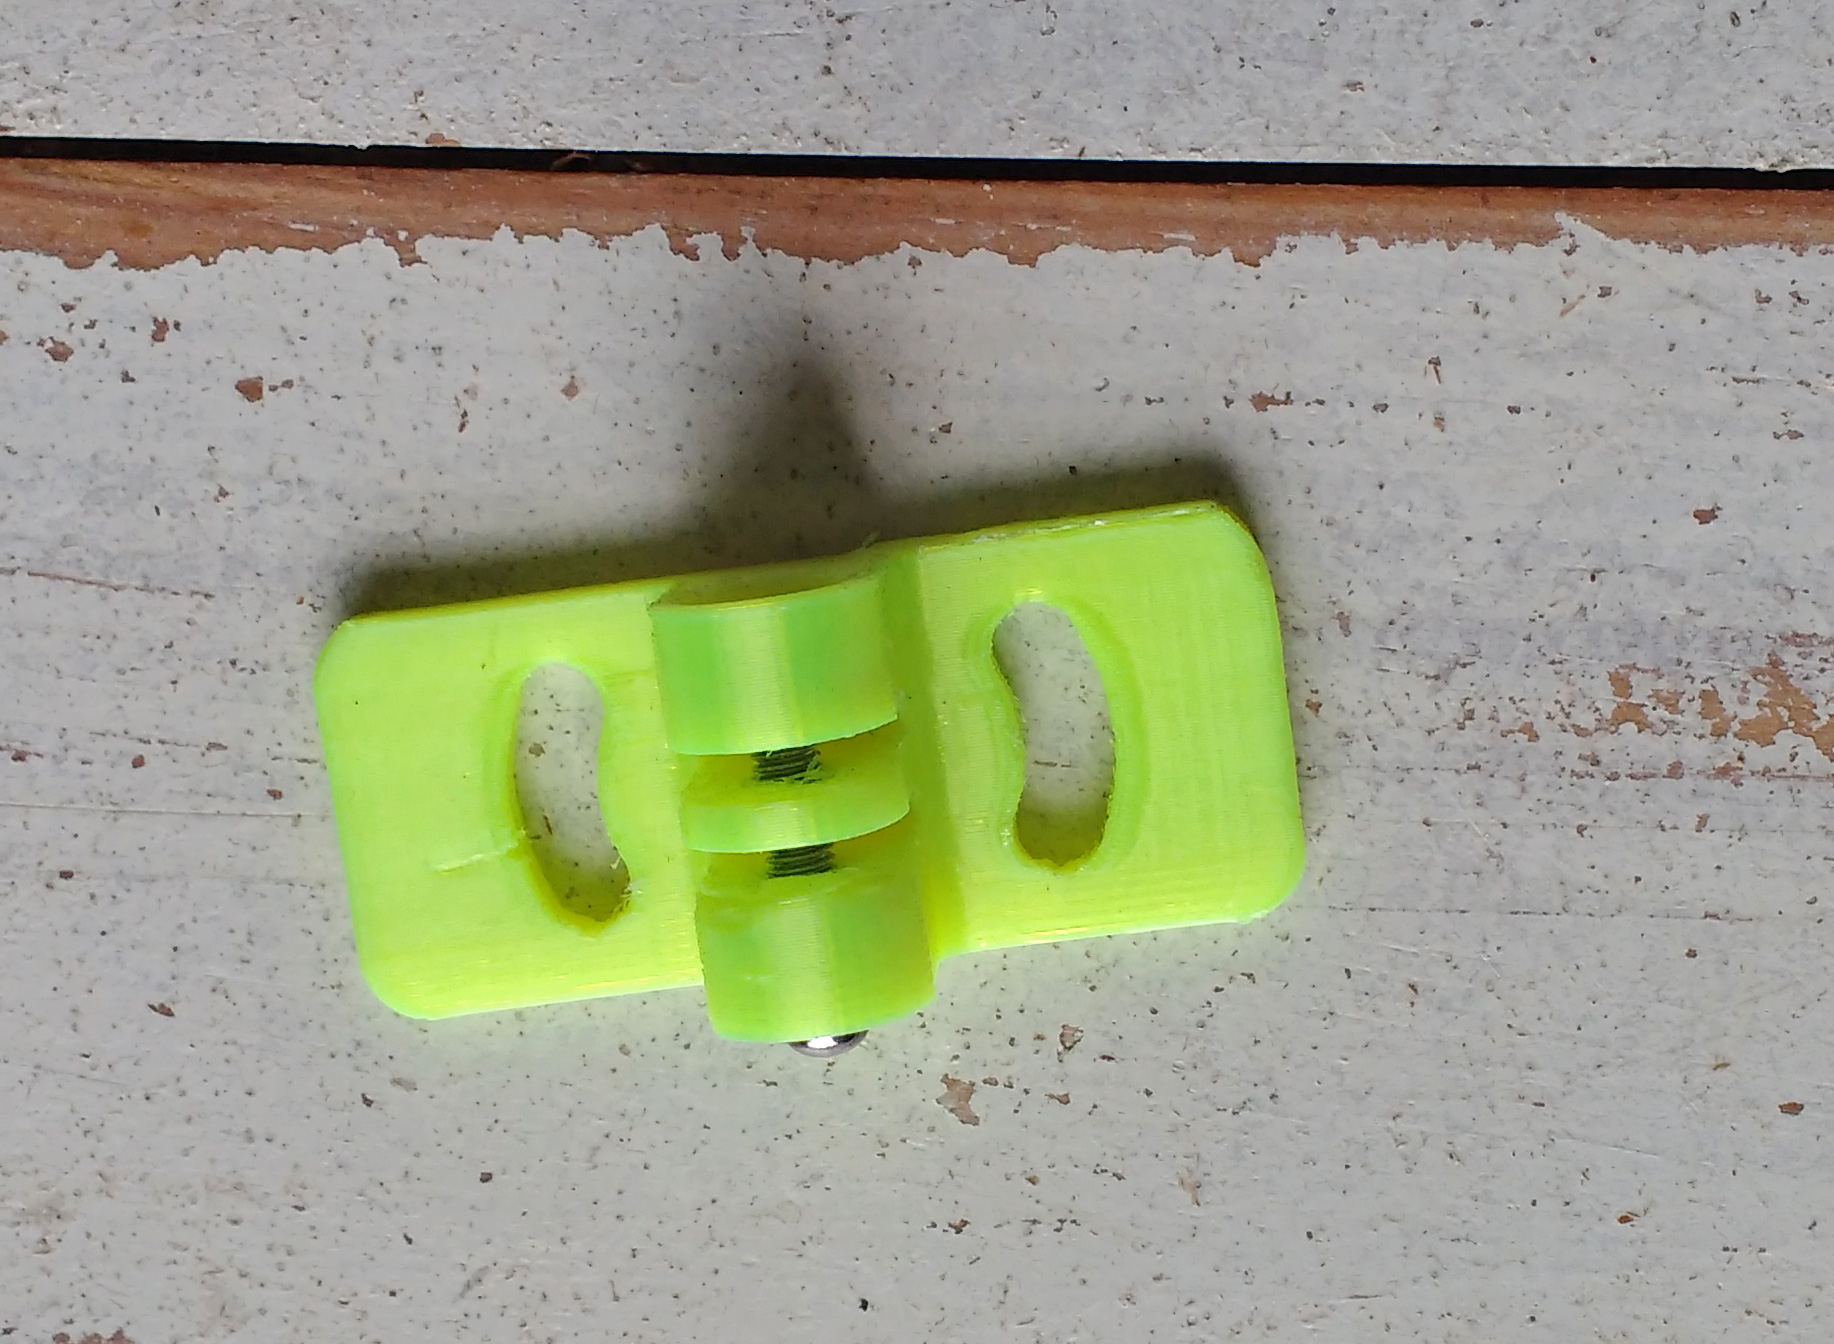
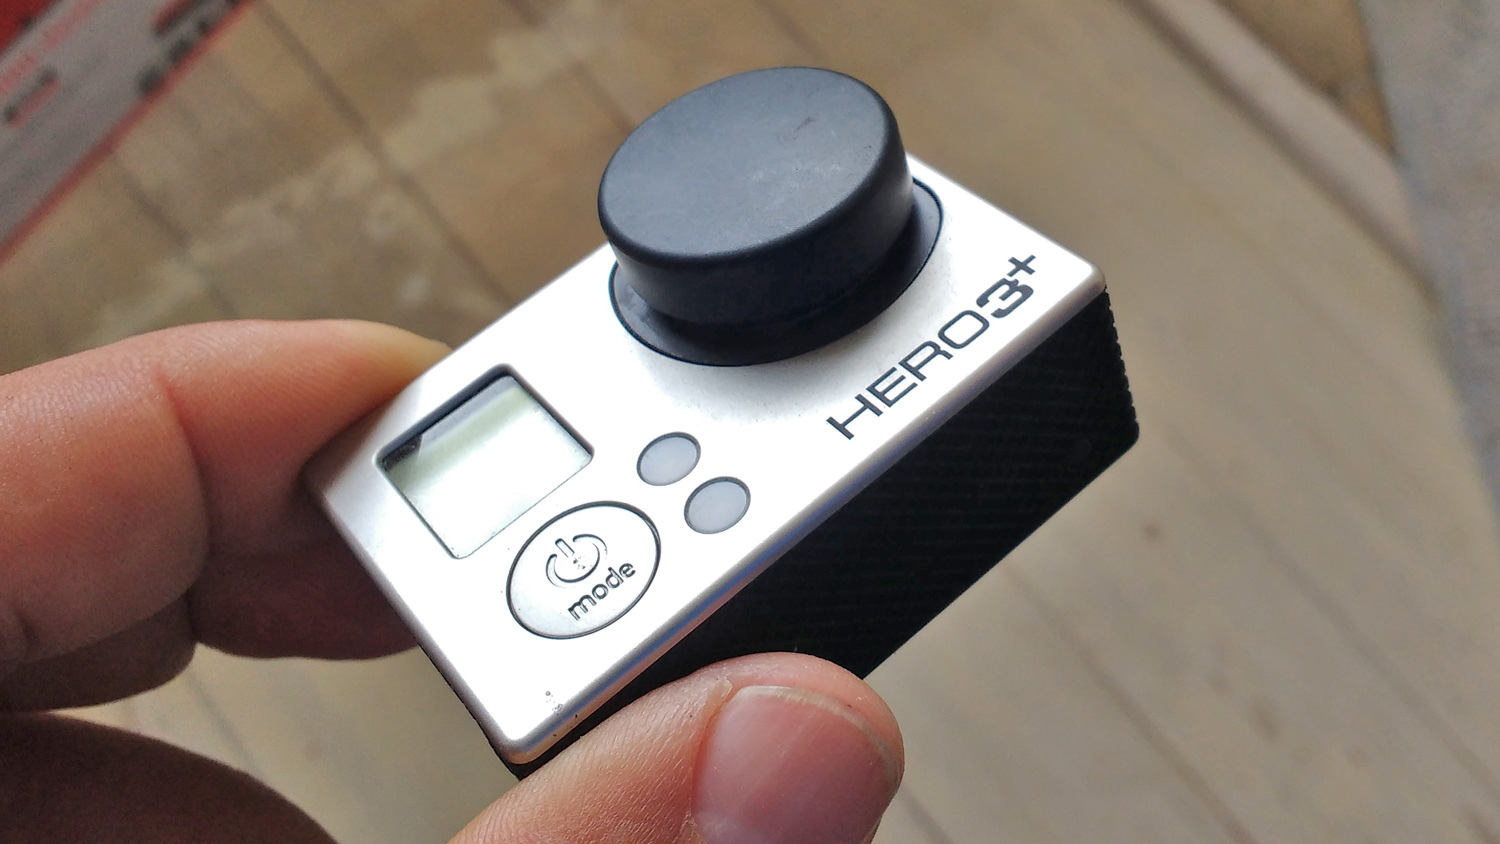
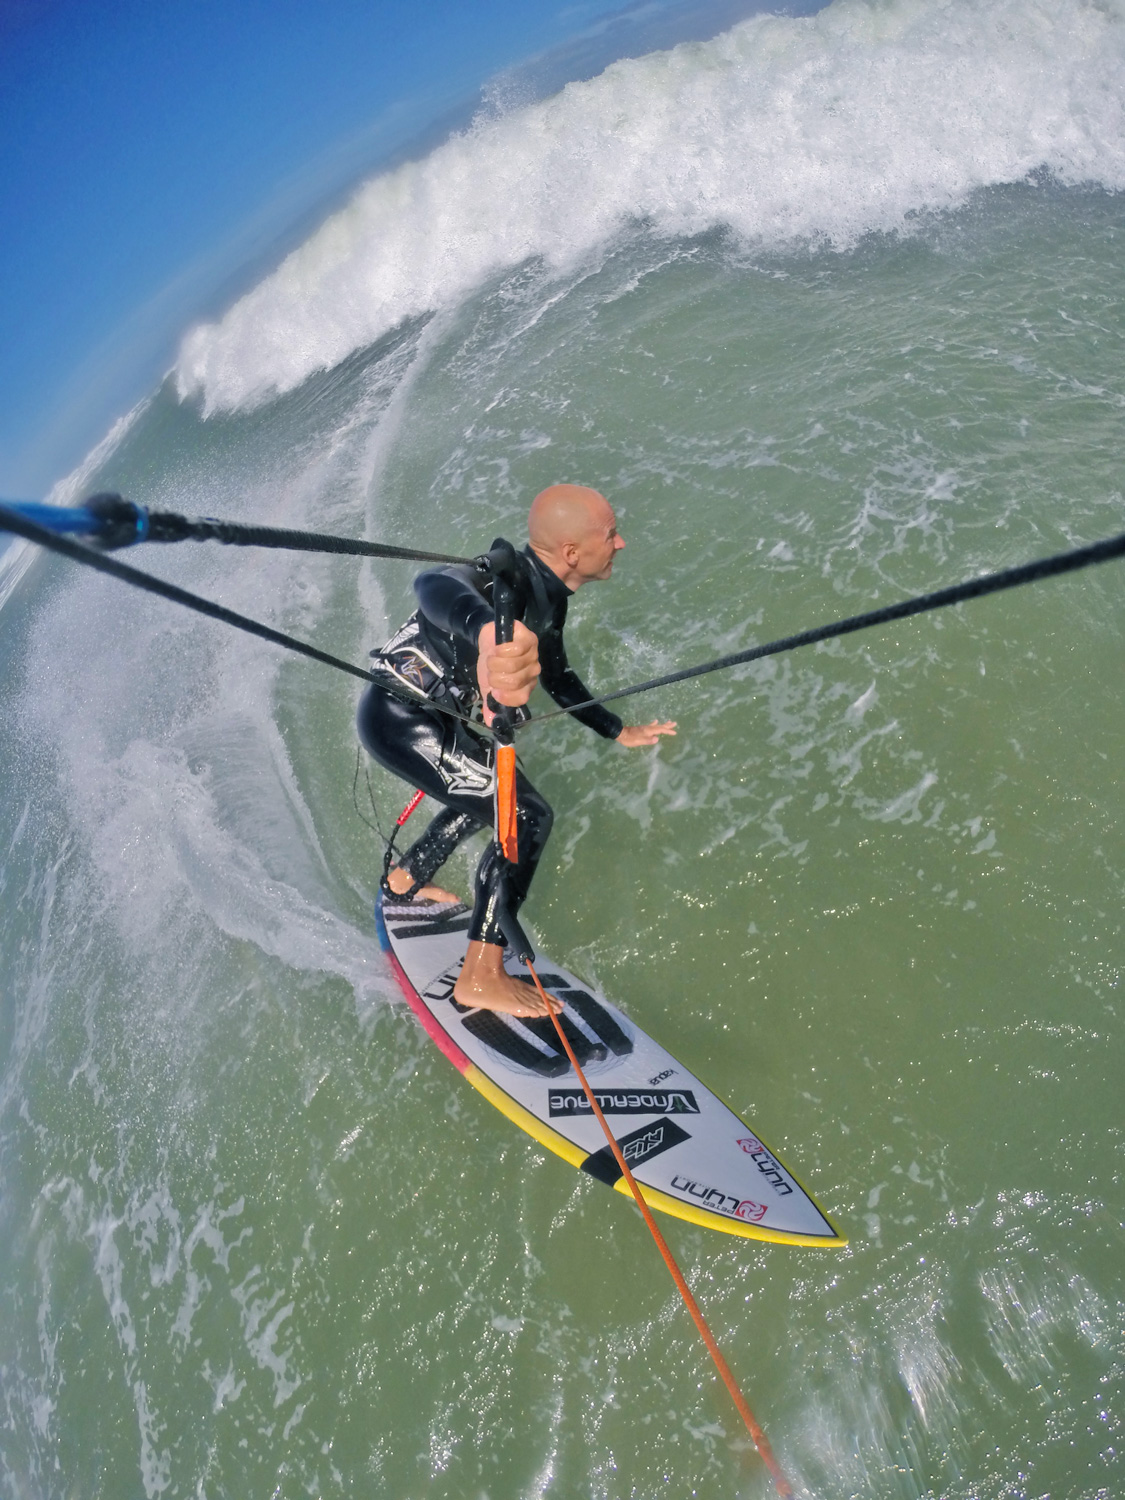
 This is the second blog on getting the most out of your action cam specifically for kiteboarding from my perspective.
I’m gonna deal with Accessories / Mounts, but before I proceed, it is worth taking a little shortcut on the subject of short video production. The greatest downfalls of most self made videos is shakiness, bad editing and lack of different angles. Now off course an action cam is designed to be used at close proximity to the action which does limit your options with regards to angles and perspective, however, you can get pretty creative.
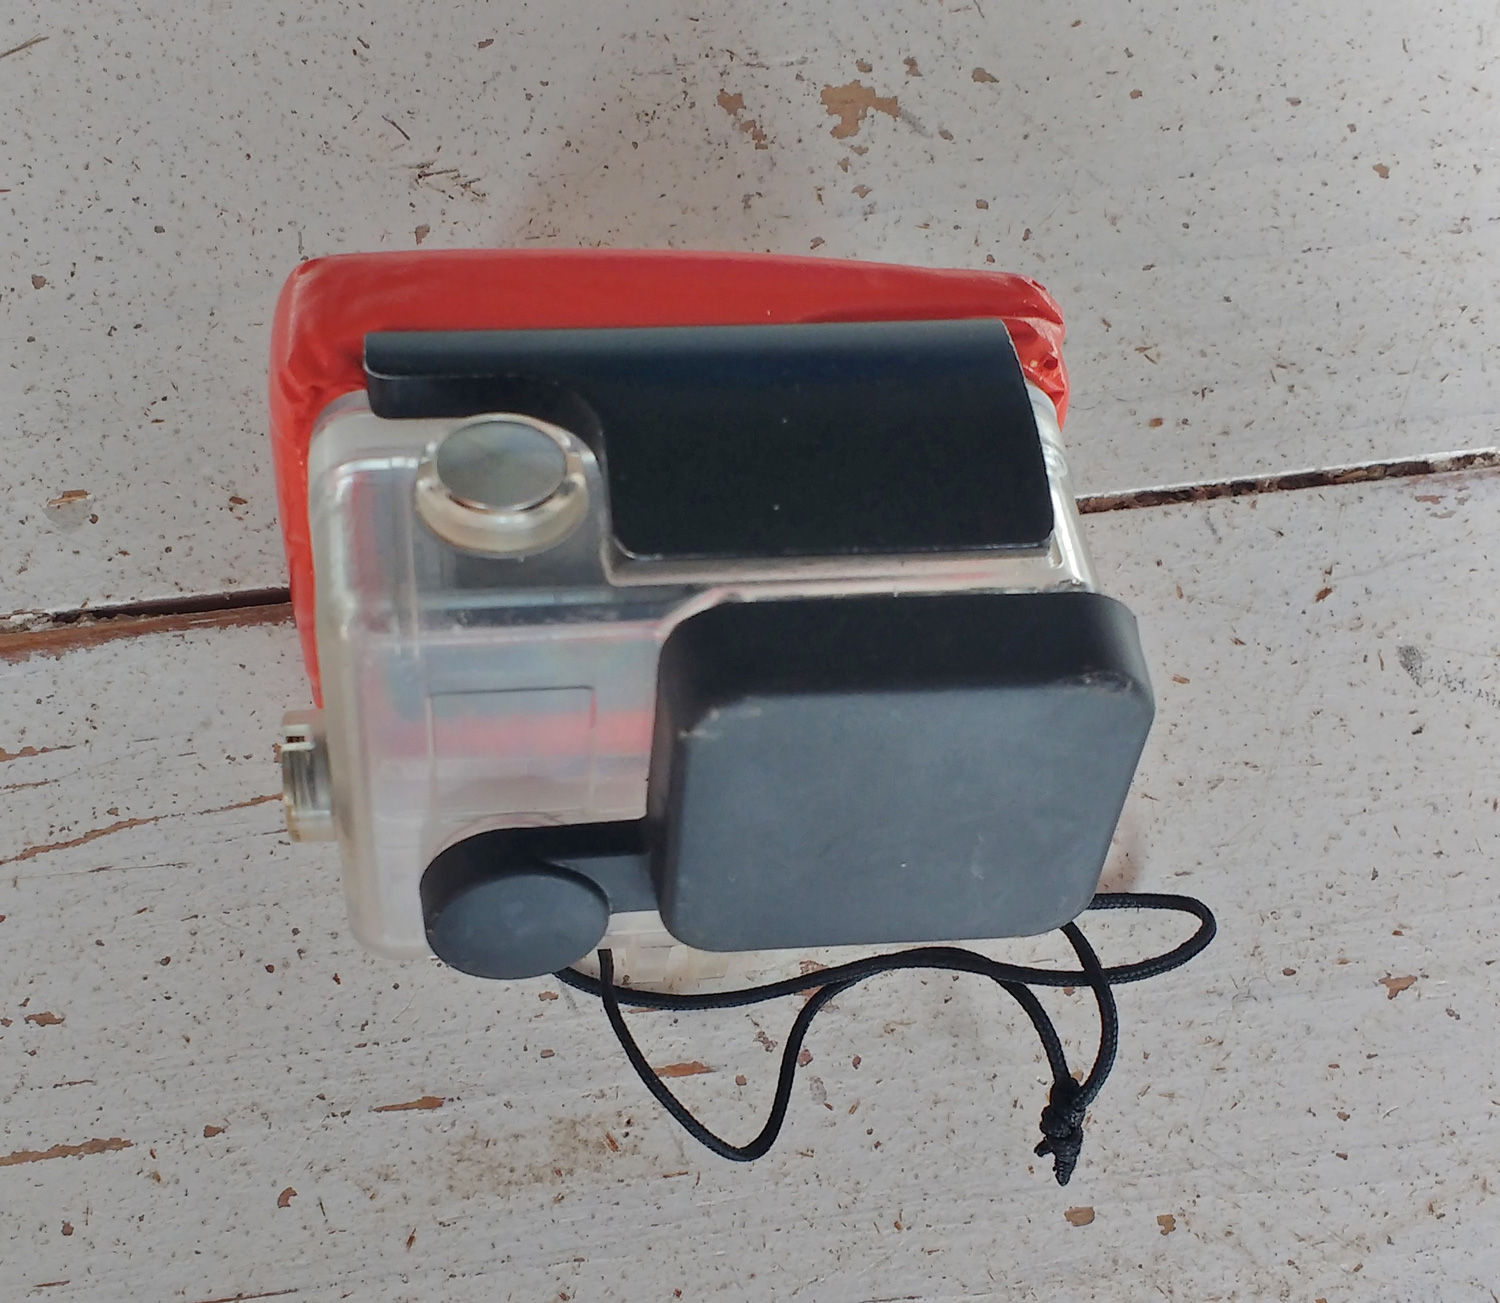
Just get a floaty door so that your camera doesn’t end up recording the bottom of the ocean!
The remote
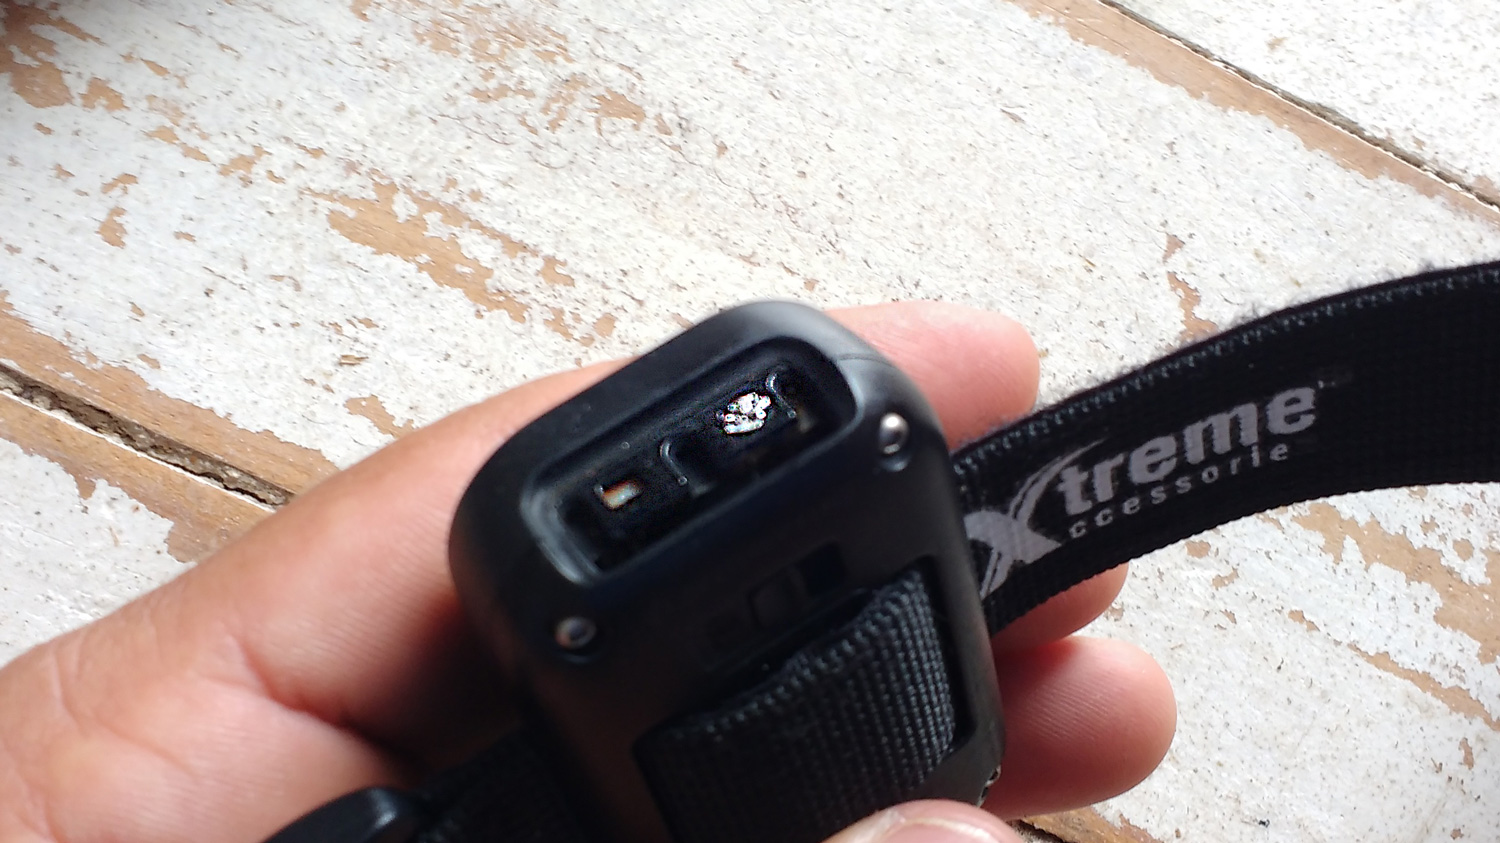
When I first unpacked the remote I had mixed feelings about it. I thought; “Coool” and immediately after; “how am i going to use it?” However it has become a very useful accessory. It does come with its sets of quirks… Firstly charging it can be surprisingly tricky. (the go pro one at least) Some remotes have the nasty habit of once fully charged, switching off and then on (without charging) so I recommend 1h30 charging time, switch off and then remove the cable. Not all chargers seem to have that problem.
Then the charging terminals and pins seem to get corroded or sometimes not connect well enough to charge. Always rinse you remote after use in salt water, and should it not connect properly, clean them off to remove any corrosion build up, a nice little trick should you still have problem charging is to roll up some small balls of metalic foil paper and stick them into the connecting ports to create better contact with the pins.
If you use your go pro wifi application with other devices, make sure it has been turned back onto remote setting (see wifi settings on the camera). Very irritating to realise this once your kite is up in the air. Generally I test all the connections before I launch.
Having the remote allows you to switch the camera on and off (see first post why that is useful for the fogging up issue) and obviously recording on and off. Personally I like to have short little clips rather than one long one. It takes a bit of getting used to the timing but once you got it down, it’s not that bad.
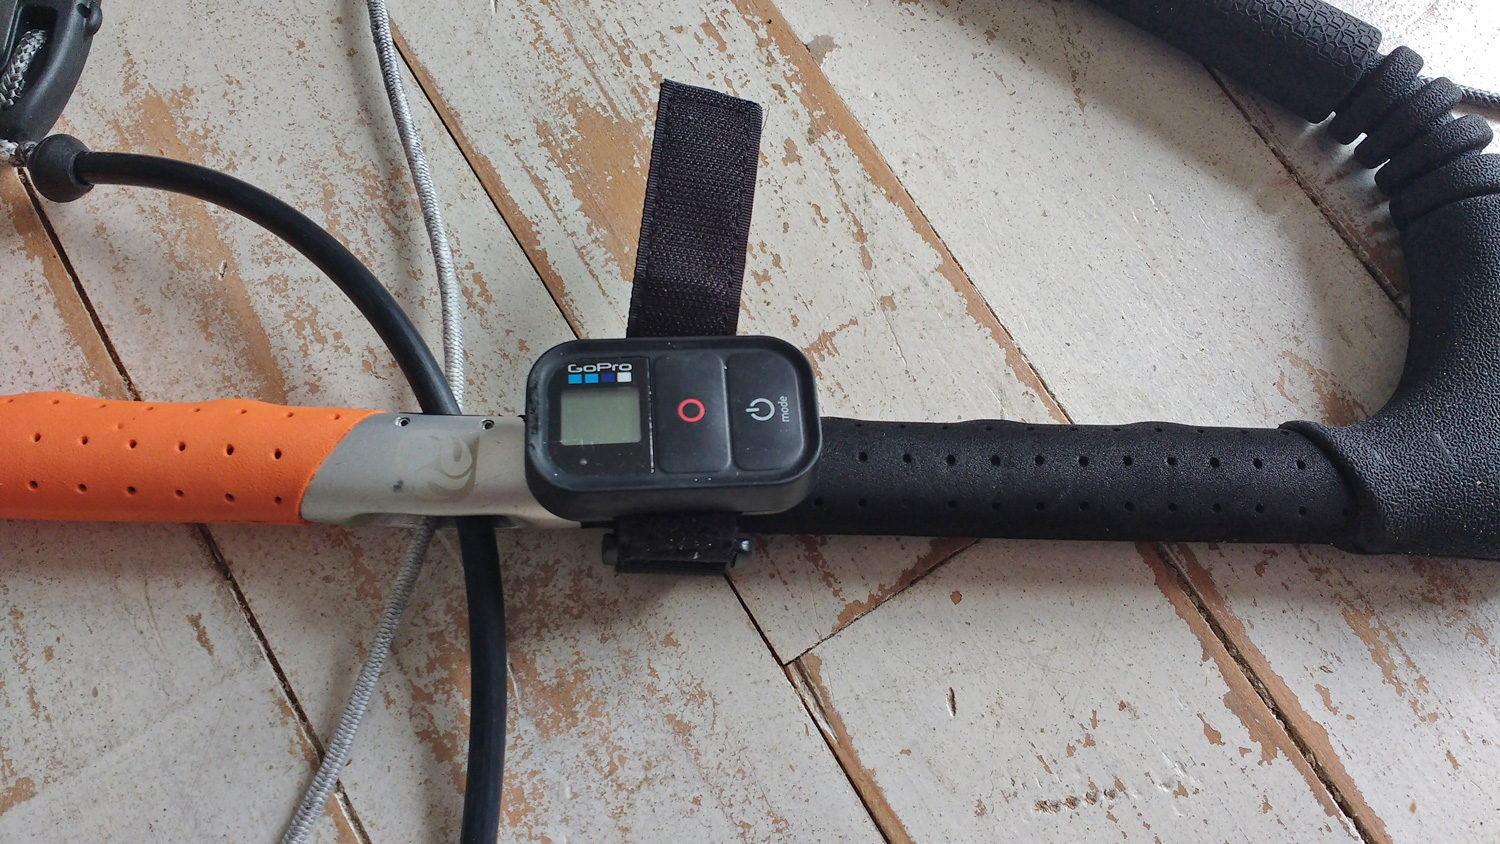
For me there is only one place to put the remote in kiteboarding, and that is on the bar. Strapped with velcro (I also add an extra leash for it by attaching to the keyring older and tying it to the bar), I strap it close to the centre hole of the bar with the buttons facing towards the end of the bar. That way the remote can be used without actually taking your hand off the bar.
The mounts
Mouth Mount
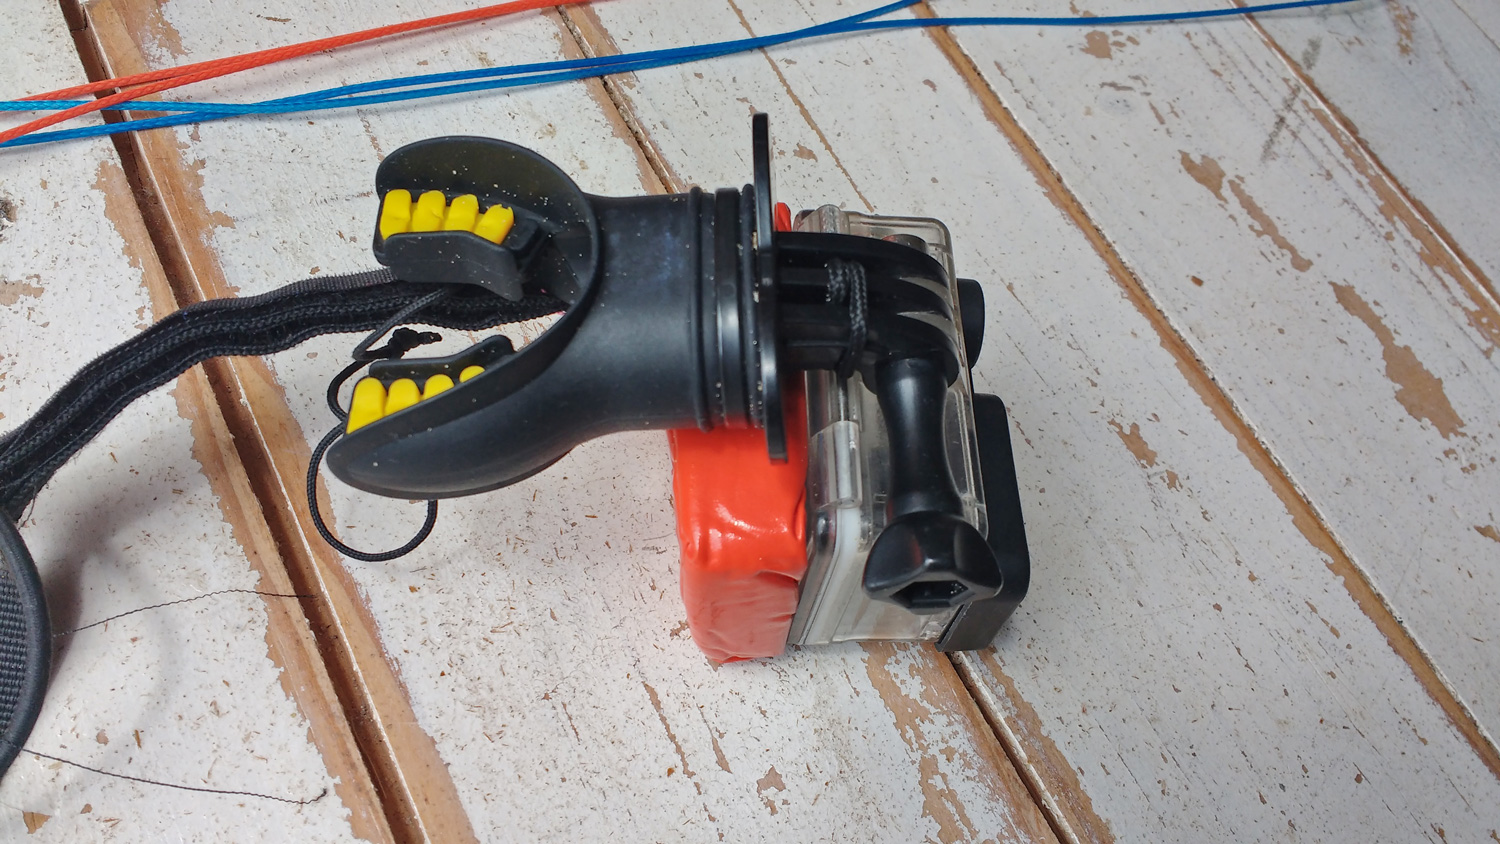
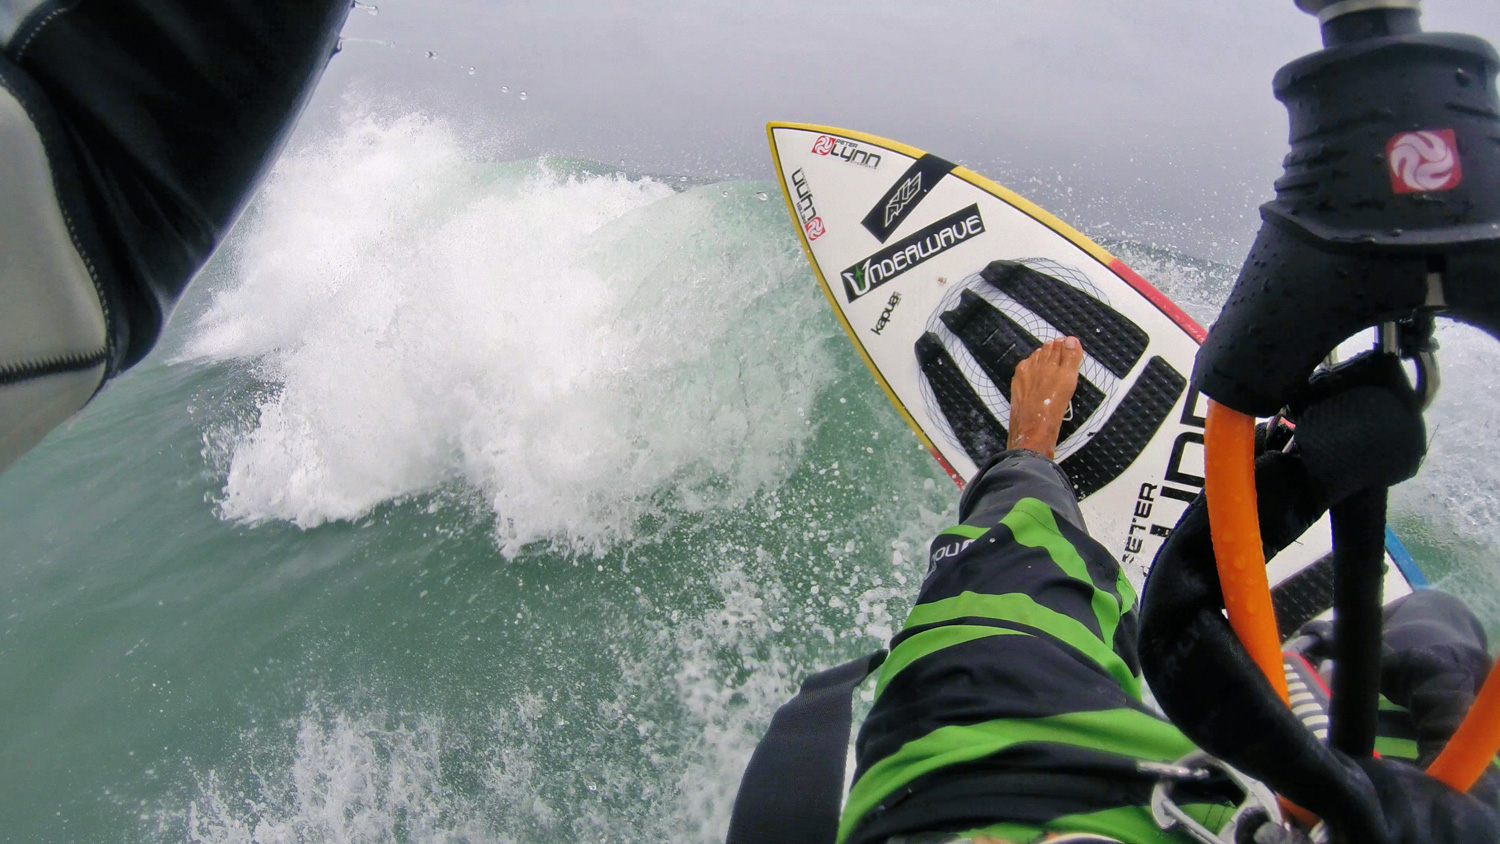
Although at first dubious about this mount, it has become my favourite. The great thing about this mount (besides not needing the remote) is that the camera is accessible and you can take it out of your mouth and get different angles holding it at arms length. It is also surprising how much more steady the image is for filming when in your mouth. The closer the camera to your eyes, the steadier it will be, In front of your eyes is not really practical unless you are a ninja warrior.
So great for moving footage and stills.
If going out for a long session with it, I suggest you wear shorts with pockets to put it away once you are done and you want to keep riding (downwinders)
It does get a little tiring in your mouth so taking breaks in between helps.
Make sure the straps are out of the way!
A little tip, learn to look up so that you can get the kite in the shots.
Here is an example of a video done purely with the mouth mount:
Line Mount
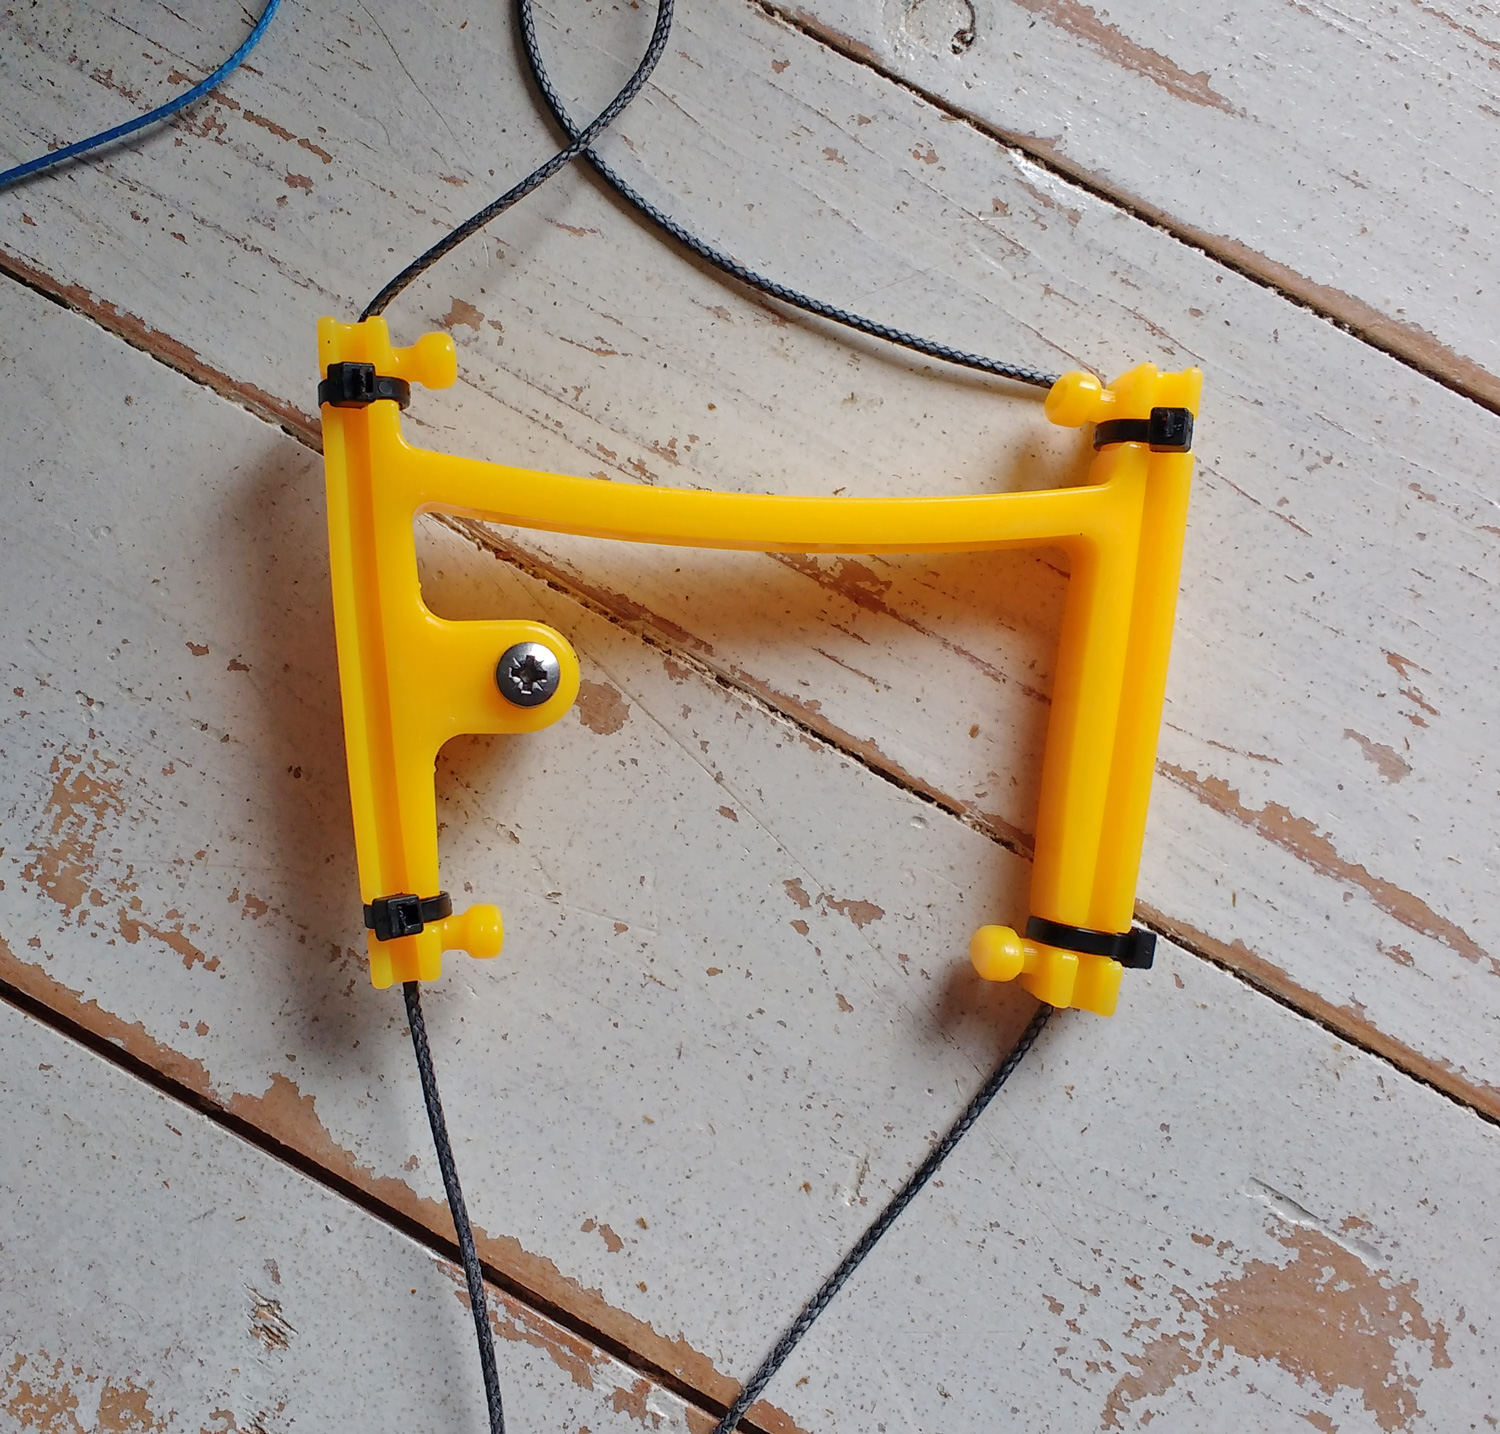
I have found this one great to capture action with perspective and in context, but it has some limitations. Firstly needs proper setting up and remote usage preferable.
I have gotten mostly great stills out of the line mount. Moving footage can also be great but needs to be on bigger kite in smooth conditions. Small kite and strong winds give you very shaky footage. Sometime unusable. But definitely got some of my best stills out of this mount.
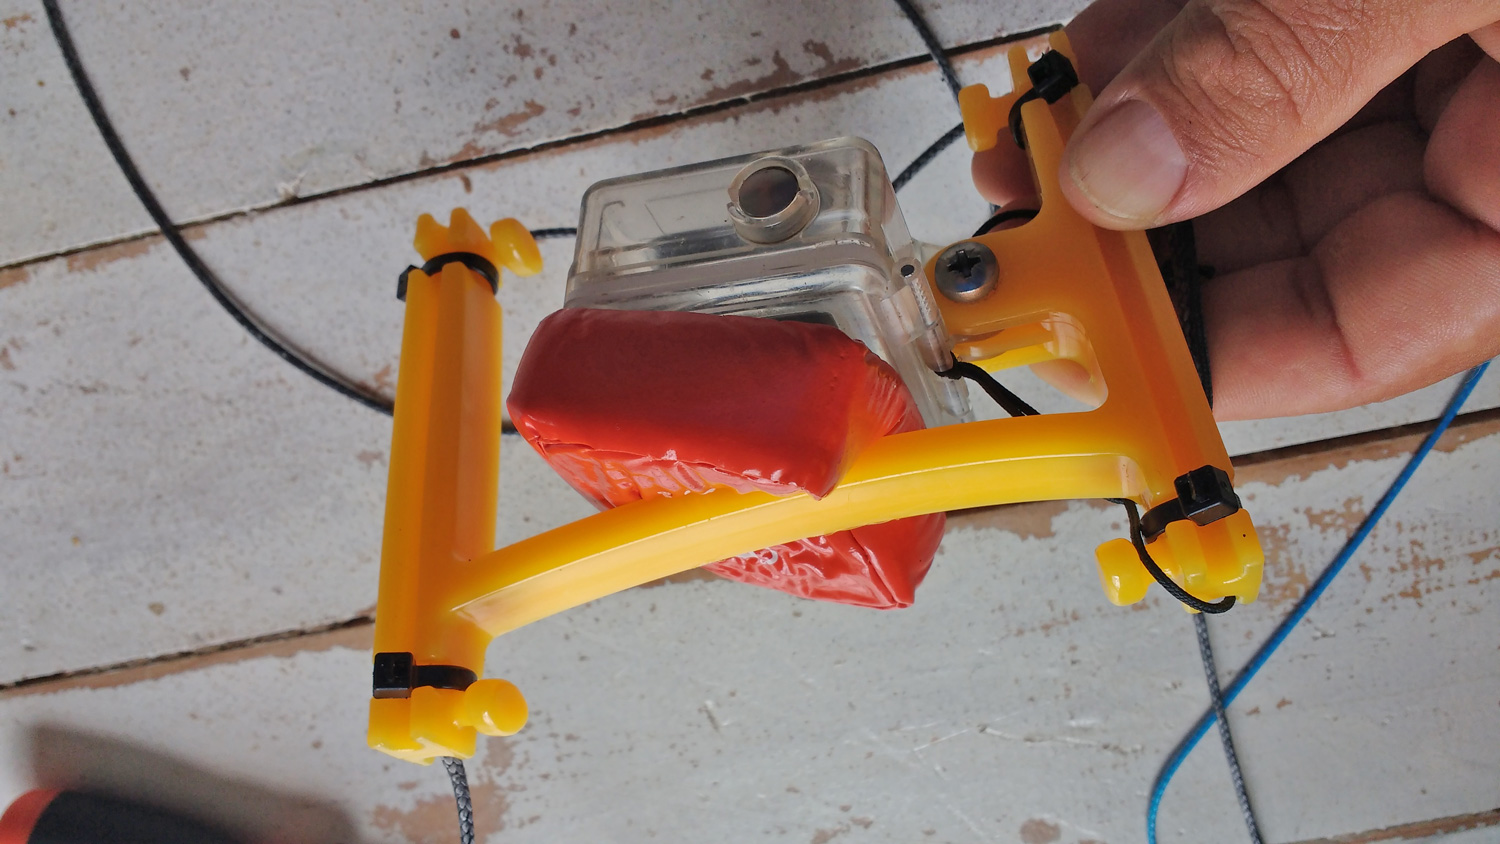
The line mount needs to be safely attached to the lines. I use cable ties and make sure My safety release can still be operated. I just leave it on my lines to cut down on set up time.
Make sure no sand sticks to the lens during launch
One down side is that the camera is unreachable during the session and the lens can get dirty. If you place it closer to you, you can then spray it to clean it, If it’s further it’s not possible.
Play around with how far you position the camera from yourself it will give you different perspectives.
Another note is that the floaty backdoor can get in the way of some of the line mounts. You can squeeze it in there with a little help. And no this is not a pick up line!
Strut mount
I haven’t used this one too much, but much like the line mount you get great stills and some video shots to give you a different angle. Remote also useful here to limit the editing time. Don’t do hard kite crashes!
Board mount

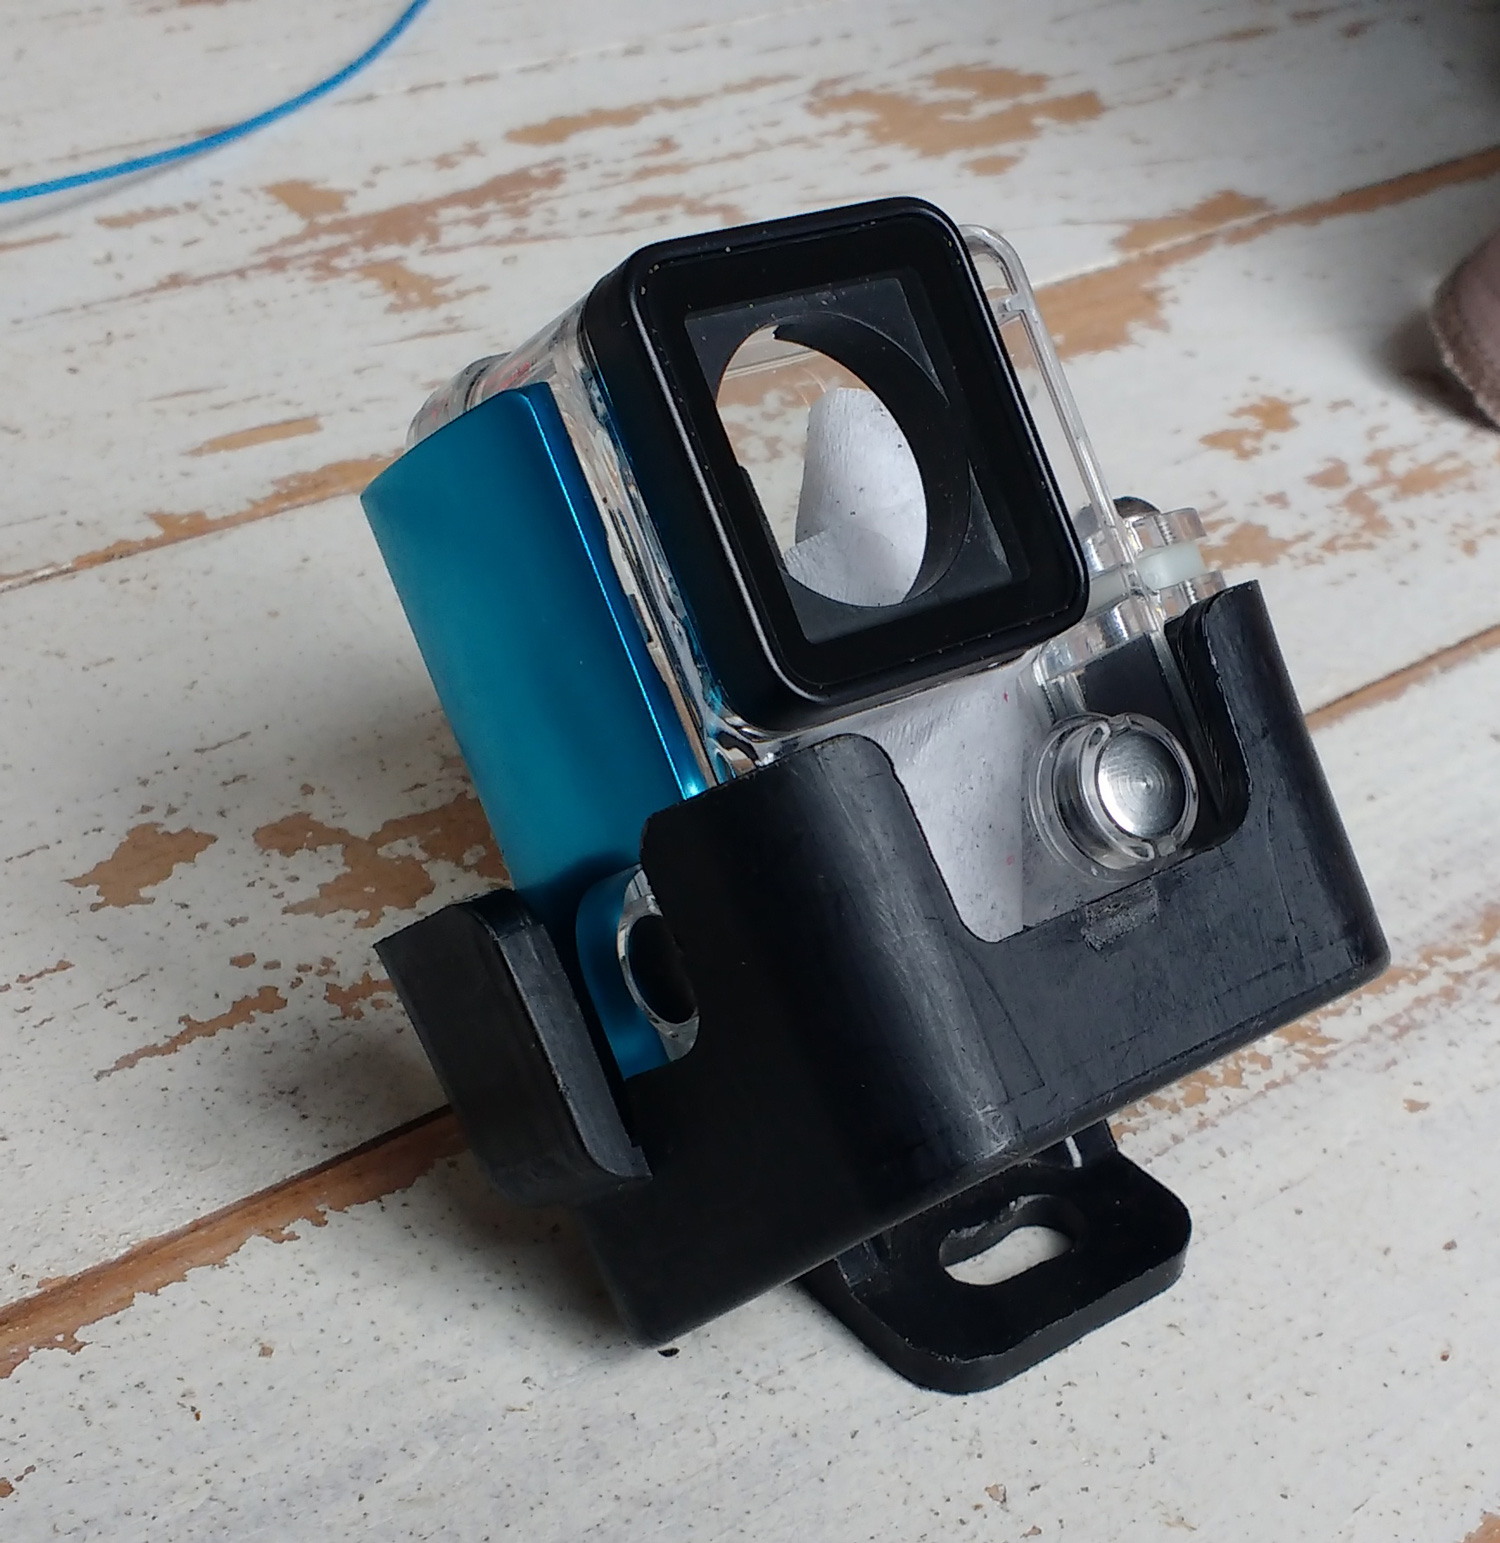
It attaches to the fin mount and is great to get a different angle but not something you will use more than 10 seconds worth in an edit. Can get some good effect if you are using it with another cam and can swop between the shots whilst in action.
Hand / Wrist Mount
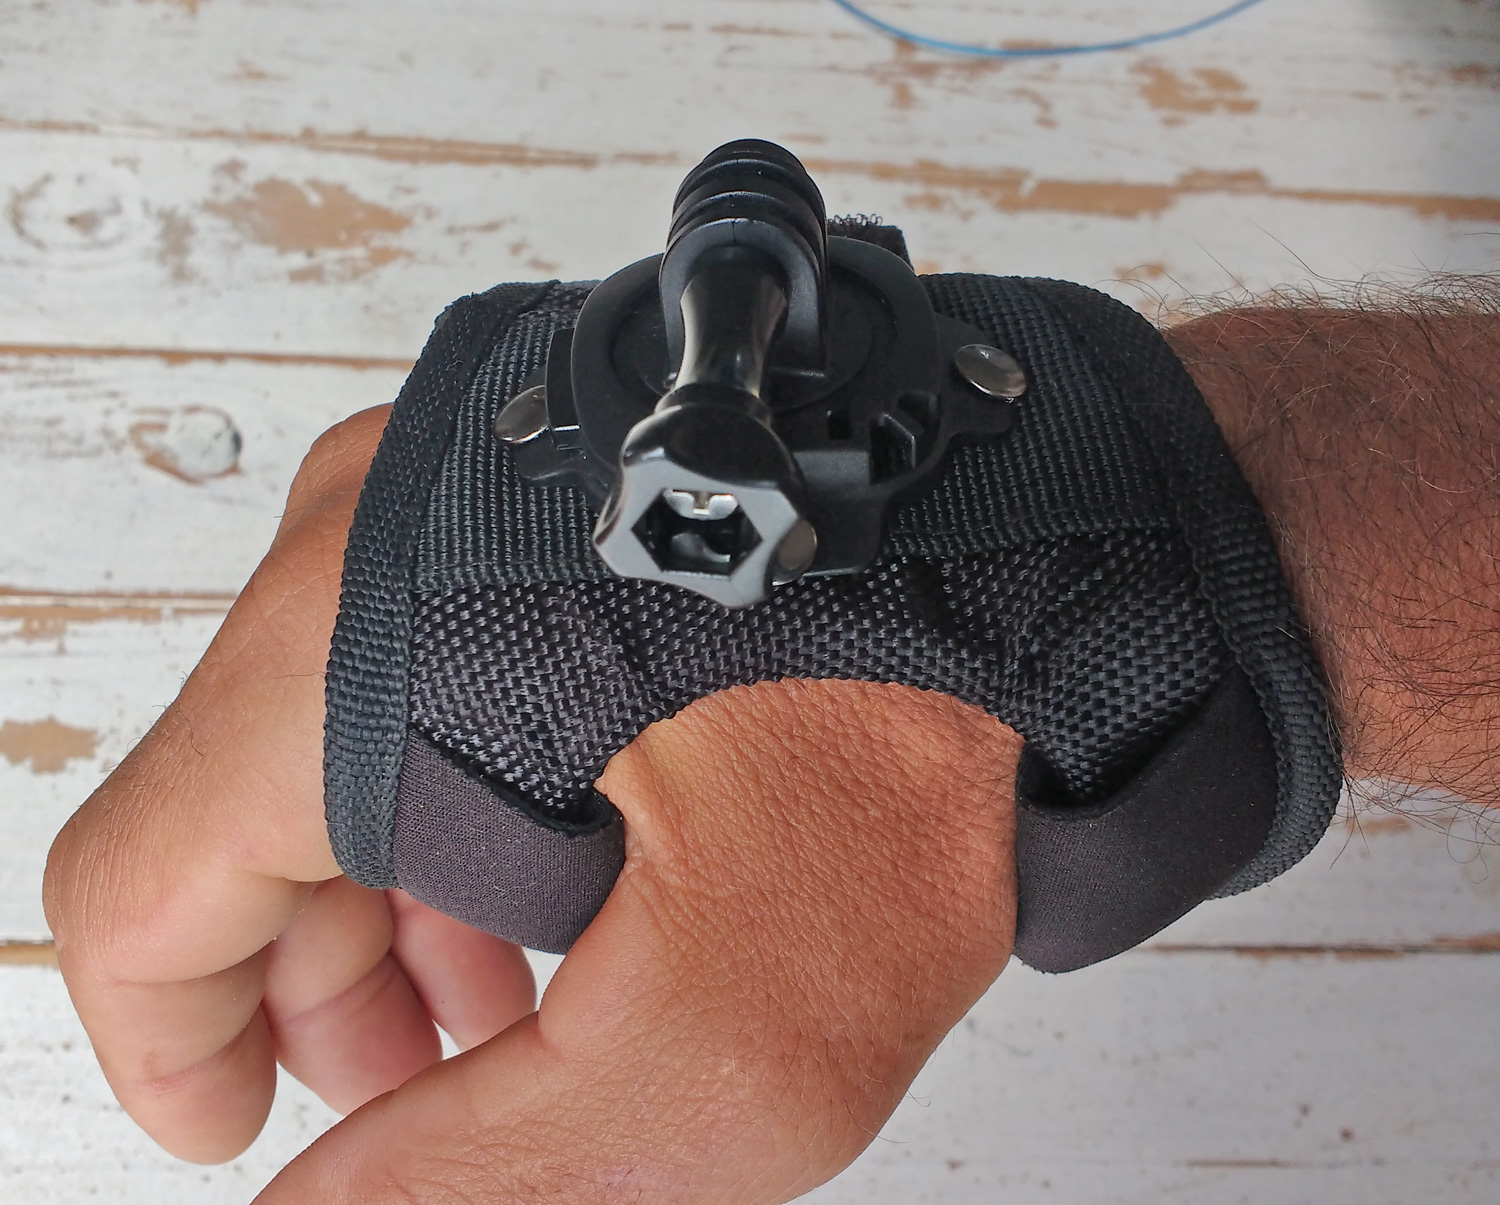
Just starting to mess around with this. Already noted that it’s not built to withstand serious impact but is great if you want to film someone else riding.
Helmet mount
I always got disappointing footage from having the cam on top of my head. You can’t see the camera so you have no idea if it is recording, fogged up or fallen off. It is also super shaky.
I’ve pretty much abandoned head mounts since getting the mouth mount.
Chest mount
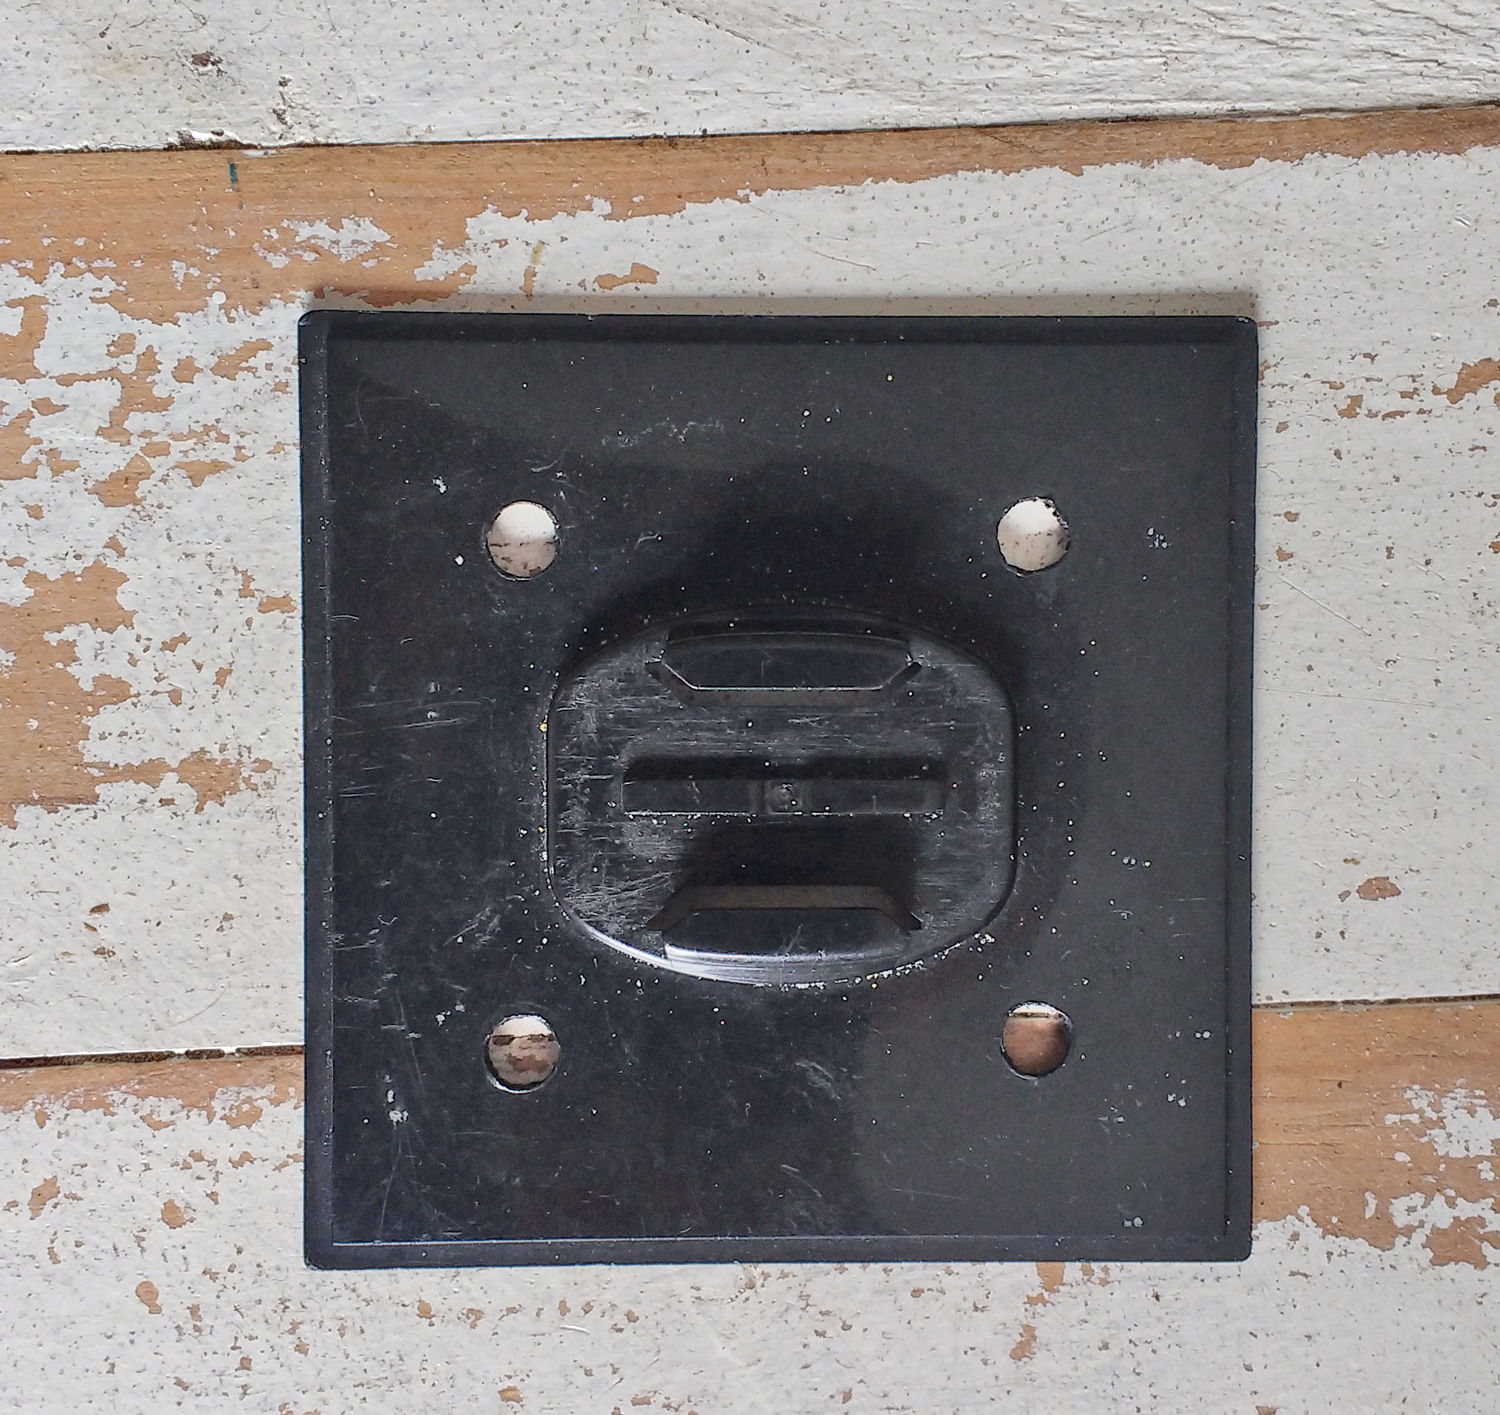
I used that a while back, it was easy to build using the base of the go pro packaging by drilling 4 holes in it and using some old ropes. Got some good results but definitely more bumpy than the mouth mount. Also bar tends to come in contact with the cam a little too much!
Pole
You can get some great stills with a pole, but your one hand riding skills need to be top notch. I have also found it to be best with stills rather than moving footage. When using the pole to shoot someone else, it is always better to have the camera under the pole rather than on top. It helps with stability. Sort of hanging the camera.
Upside down mode
Note that with the mouth mount, line mount (depending on your set up) and the camera below with pole it’s preferable to be shooting in upside down mode. Saves having to flip all the footage later.
Protective accessories
lenses are not scratch proof! I’ve had to change a few over the years. So I try as much as possible when storing the cases away to put some protection over it or at the very least put the cam inside a plastic packet.
Ok so That is my experience with Accessories and Mounts. There are more out there which I have not had experience with. I say experiment and see what works for you and your conditions.
A final note on Go pro footage and usage within a  video clip, if you are going for a more serious edit, it is great to mix it with some footage from the beach. It does give it an edge. If your angles and  footage is interesting and not too bumpy, you can get pretty good results with around 80 % go pro footage

